How to create a multilingual site in Joomla
1. Install Joomla on your hosting account.
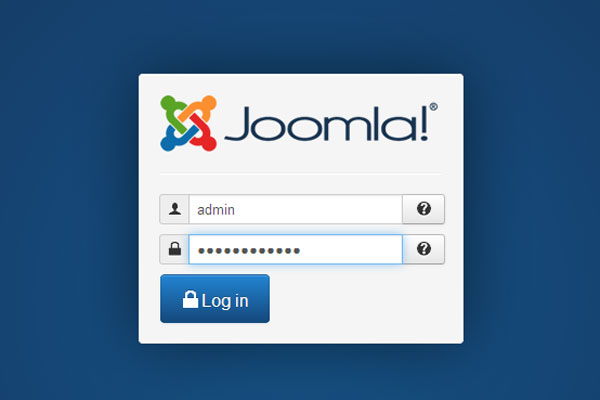
2. Log in to your Joomla administrator backend.
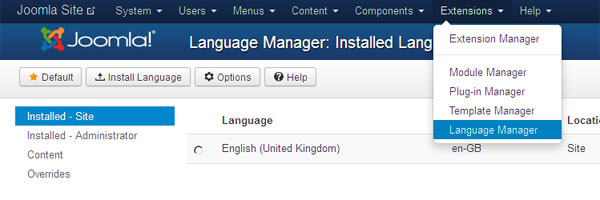
3. Go to "Extensions" -> "Language Manager" and press "Install Language" button.
4. Search for required language package, select it and press "Install" button.
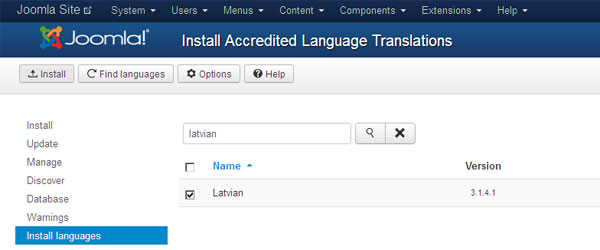
5. Repeat 4th step for all required languages.
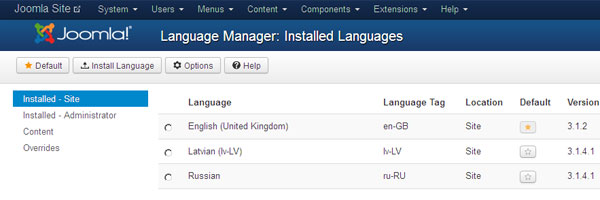
6. Press on "Content" in the Language Manager and click "New" button.
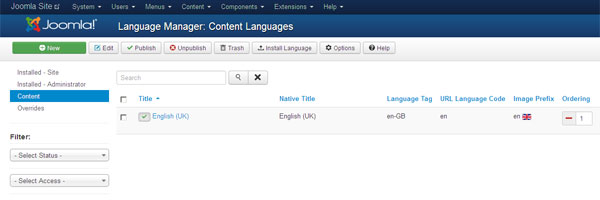
7. Enter Title, Title Native, URL Language Code, select Image Prefix from the drop down menu, enter Language Tag (from the "Installed - Site" languages), and press "Save & Close" button.
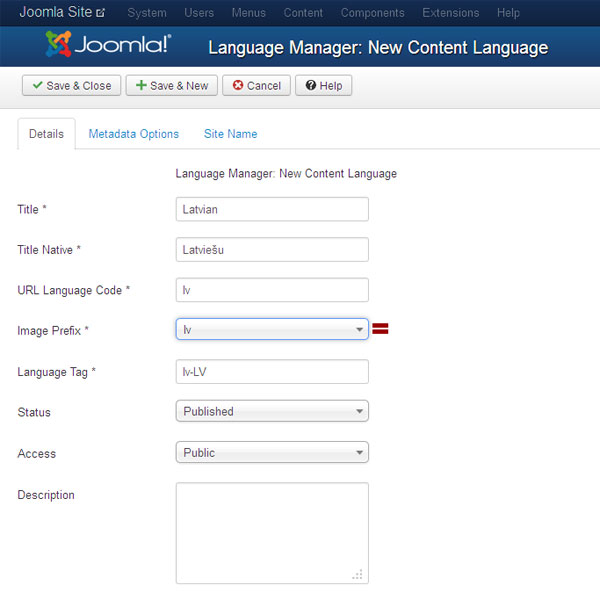
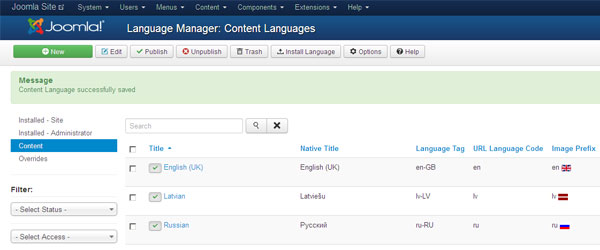
8. Repeat 6th-7th steps for all required languages.
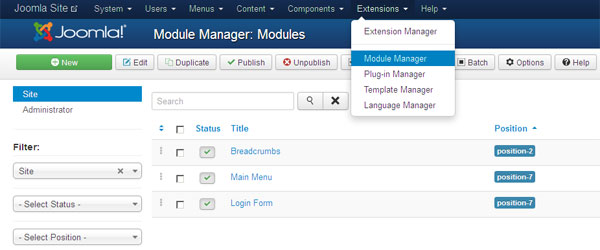
9. Go to "Extensions" -> "Module Manager" and press "New Button".
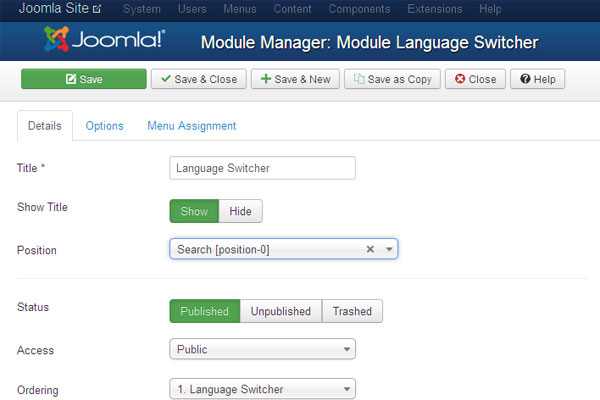
10. Select a Module Type: Language Switcher. Enter Title and select position for "Language Switcher" module. Press "Save" button
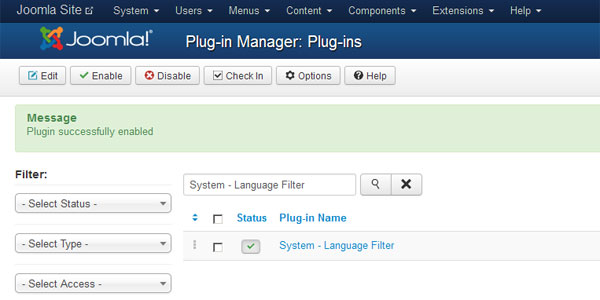
11. Go to "Extensions" -> "Plug-in Manager" and search for "System - Language Filter" plug-in. Make sure it is enabled.
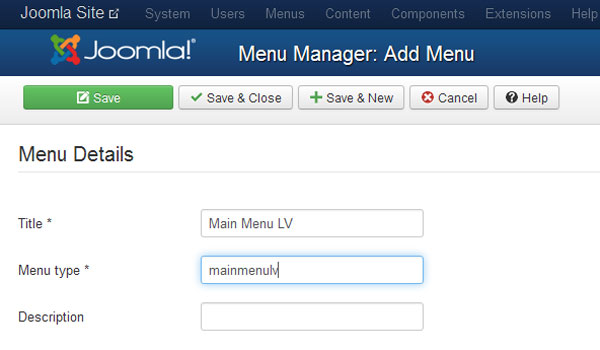
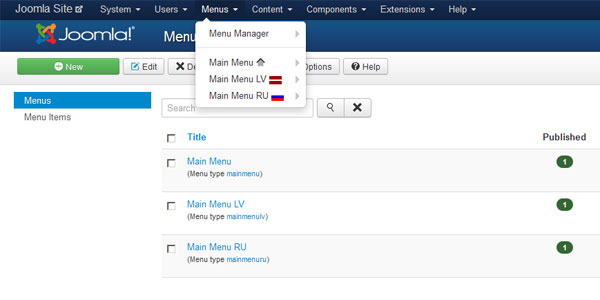
12. Go to "Menus" -> "Menu Manager" -> "Add New Menu". Enter menu title and type for new language menu. Press "Save & Close" button.
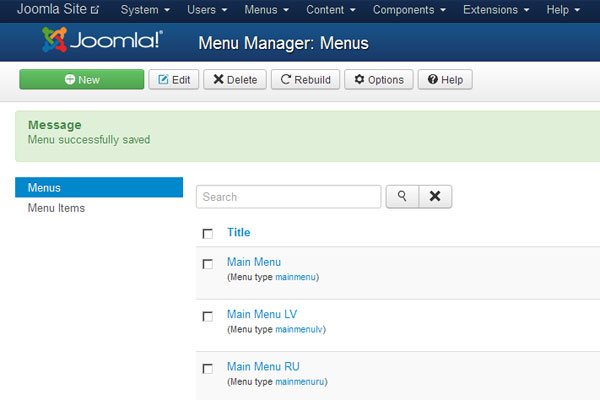
13. Repeat 12th step for all required languages.
14. Press on newly created menu title and create new menu item by pressing "New" button. Select "Menu Item Type": Featured Articles. Enter title and alias. Select "Default Page": Yes. Select "Language" for this menu item. Press "Save & Close" button.
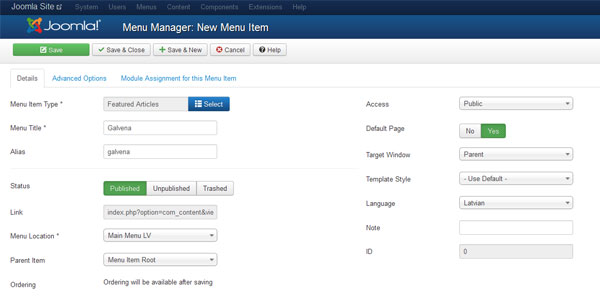
15. Repeat 14th step for all required language menus.
16. Go to "Extensions" -> "Module Manager" and press "New Button". Select "Menu" module type. Enter "Title". Select the same position as "Main Menu" module. Select "Language" for this menu module. Press "Options" tab and select menu for this language. Press "Save & Close" button.
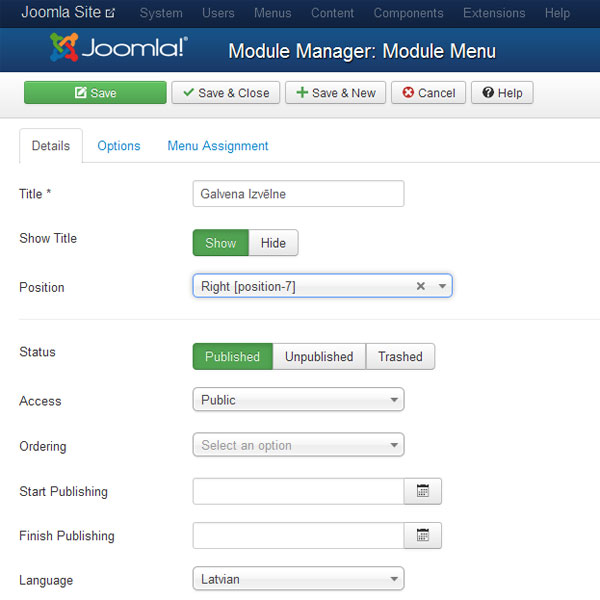
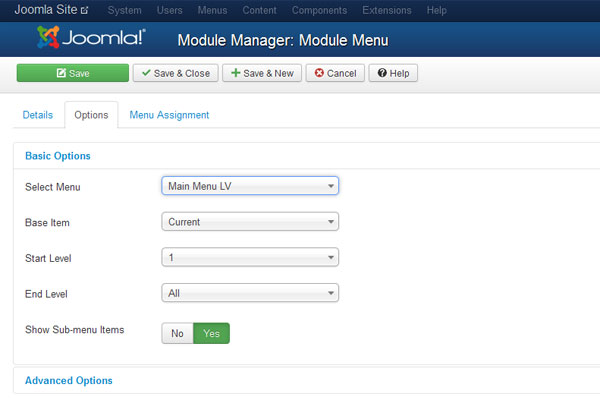
17. Repeat 16th step for all required language menu modules.
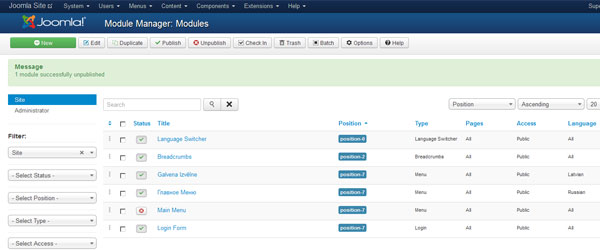
18. Unpublish "Main Menu" module and leave published only language menu modules.
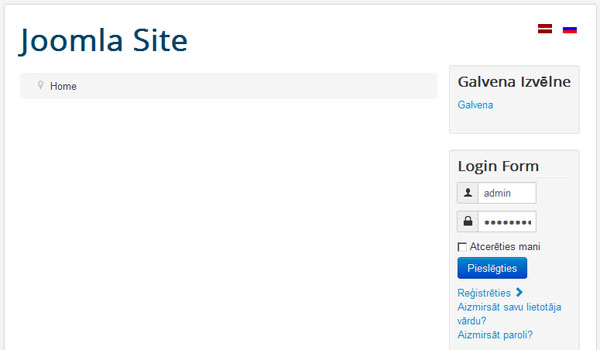
Your first multilanguage Joomla site is ready to go live!
Important: Create articles, menu items and modules for each published language separately!


